Mission Endure 64: Finding Redemption in Restoring an Old Toolbox
Last October I opened up Craigslist to look for an old Craftsman toolbox. I have lots of Craftsman tools and have wanted to restore an old Craftsman toolbox for quite a while. I want to take on this project to be a more effective Do It Yourselfer (DIYer) and thought I could learn some new skills and possibly make some money at the same time. So, I opened up Craigslist and there was a toolbox on the page. It was located about an hour away, across town, and I made an appointment to go look at it. When I got to the person’s house I discovered that all of my expectations were wrong.
My first expectation was that the toolbox probably belonged to an old timer who was getting ready to retire and was looking for a new owner for his beat-up Craftsman toolbox. When I rang the doorbell out came a single Mom with a huge, but loveable dog. She seemed like a very nice young lady and took me back to the garage where the toolbox was located. At first sight I saw the tool box was a Huot, not a Craftsman, although she had advertized it as a Craftsman, and it was in horrible shape. I was going to head back home and just chalk up the two hours of driving to being an adventure, and then she started to tell me the story of the tool box.
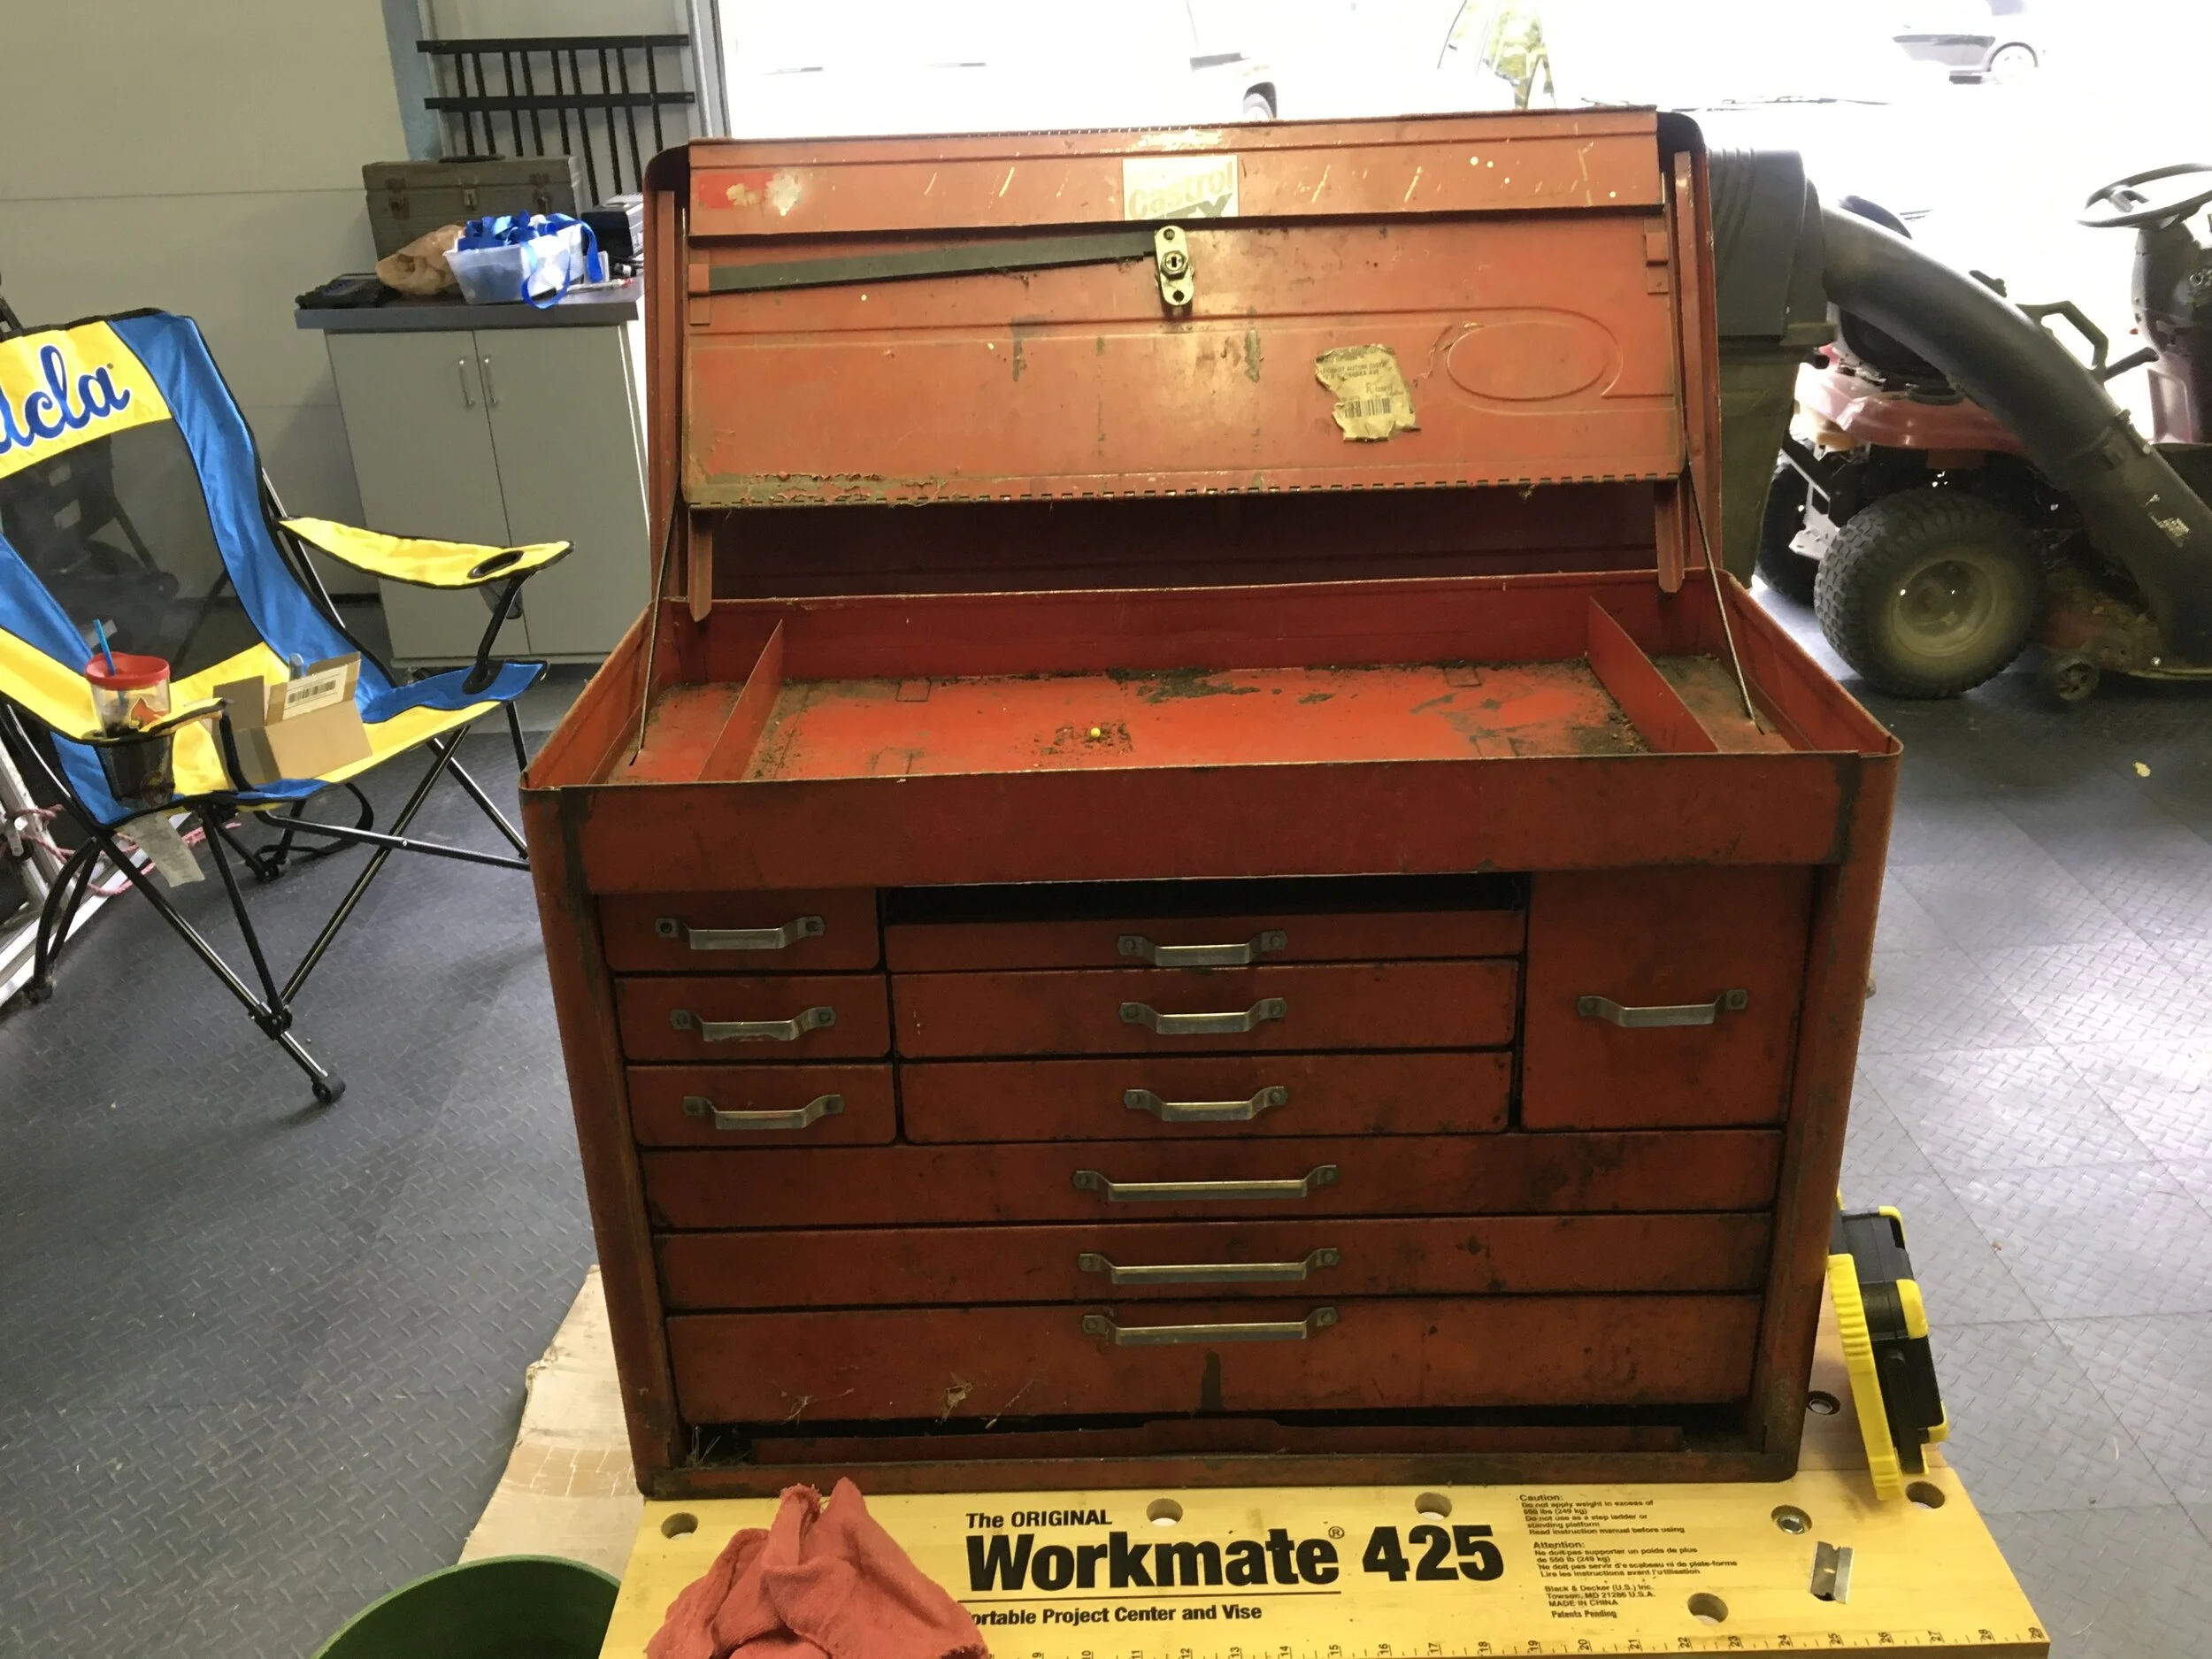
She told me the toolbox belonged to her GrandPa when he owned a small engine repair shop. He bought it a long, long time ago (she claimed she thinks he bought it in the 1930s, but it has more of a 1960s or 1970s look to it). She said he loved it and used it every day until he retired some time back. He was long gone and it was time to part with it. The toolbox was covered in rust, grease, stickers, and dirt, but I thought that would all be easy to fix. I loved the history behind the toolbox and decided to buy the toolbox to see what I could do with it to bring it back to life. Here is what it looked like when I got it home on a sawhorse in my garage.
It looked awful, but I started in on it. It was a monster to tear down. The drawers were bent and caked in a thin cork layer that had been glued down to cushion the drawers kind of like a thick shelf paper. In general it look pretty bad. It had been sitting on the floor of the young lady’s garage for a long, long time and was ready to be brought back to life. Here is another photo with the front open.
Here is what one of the typical drawers looked like.
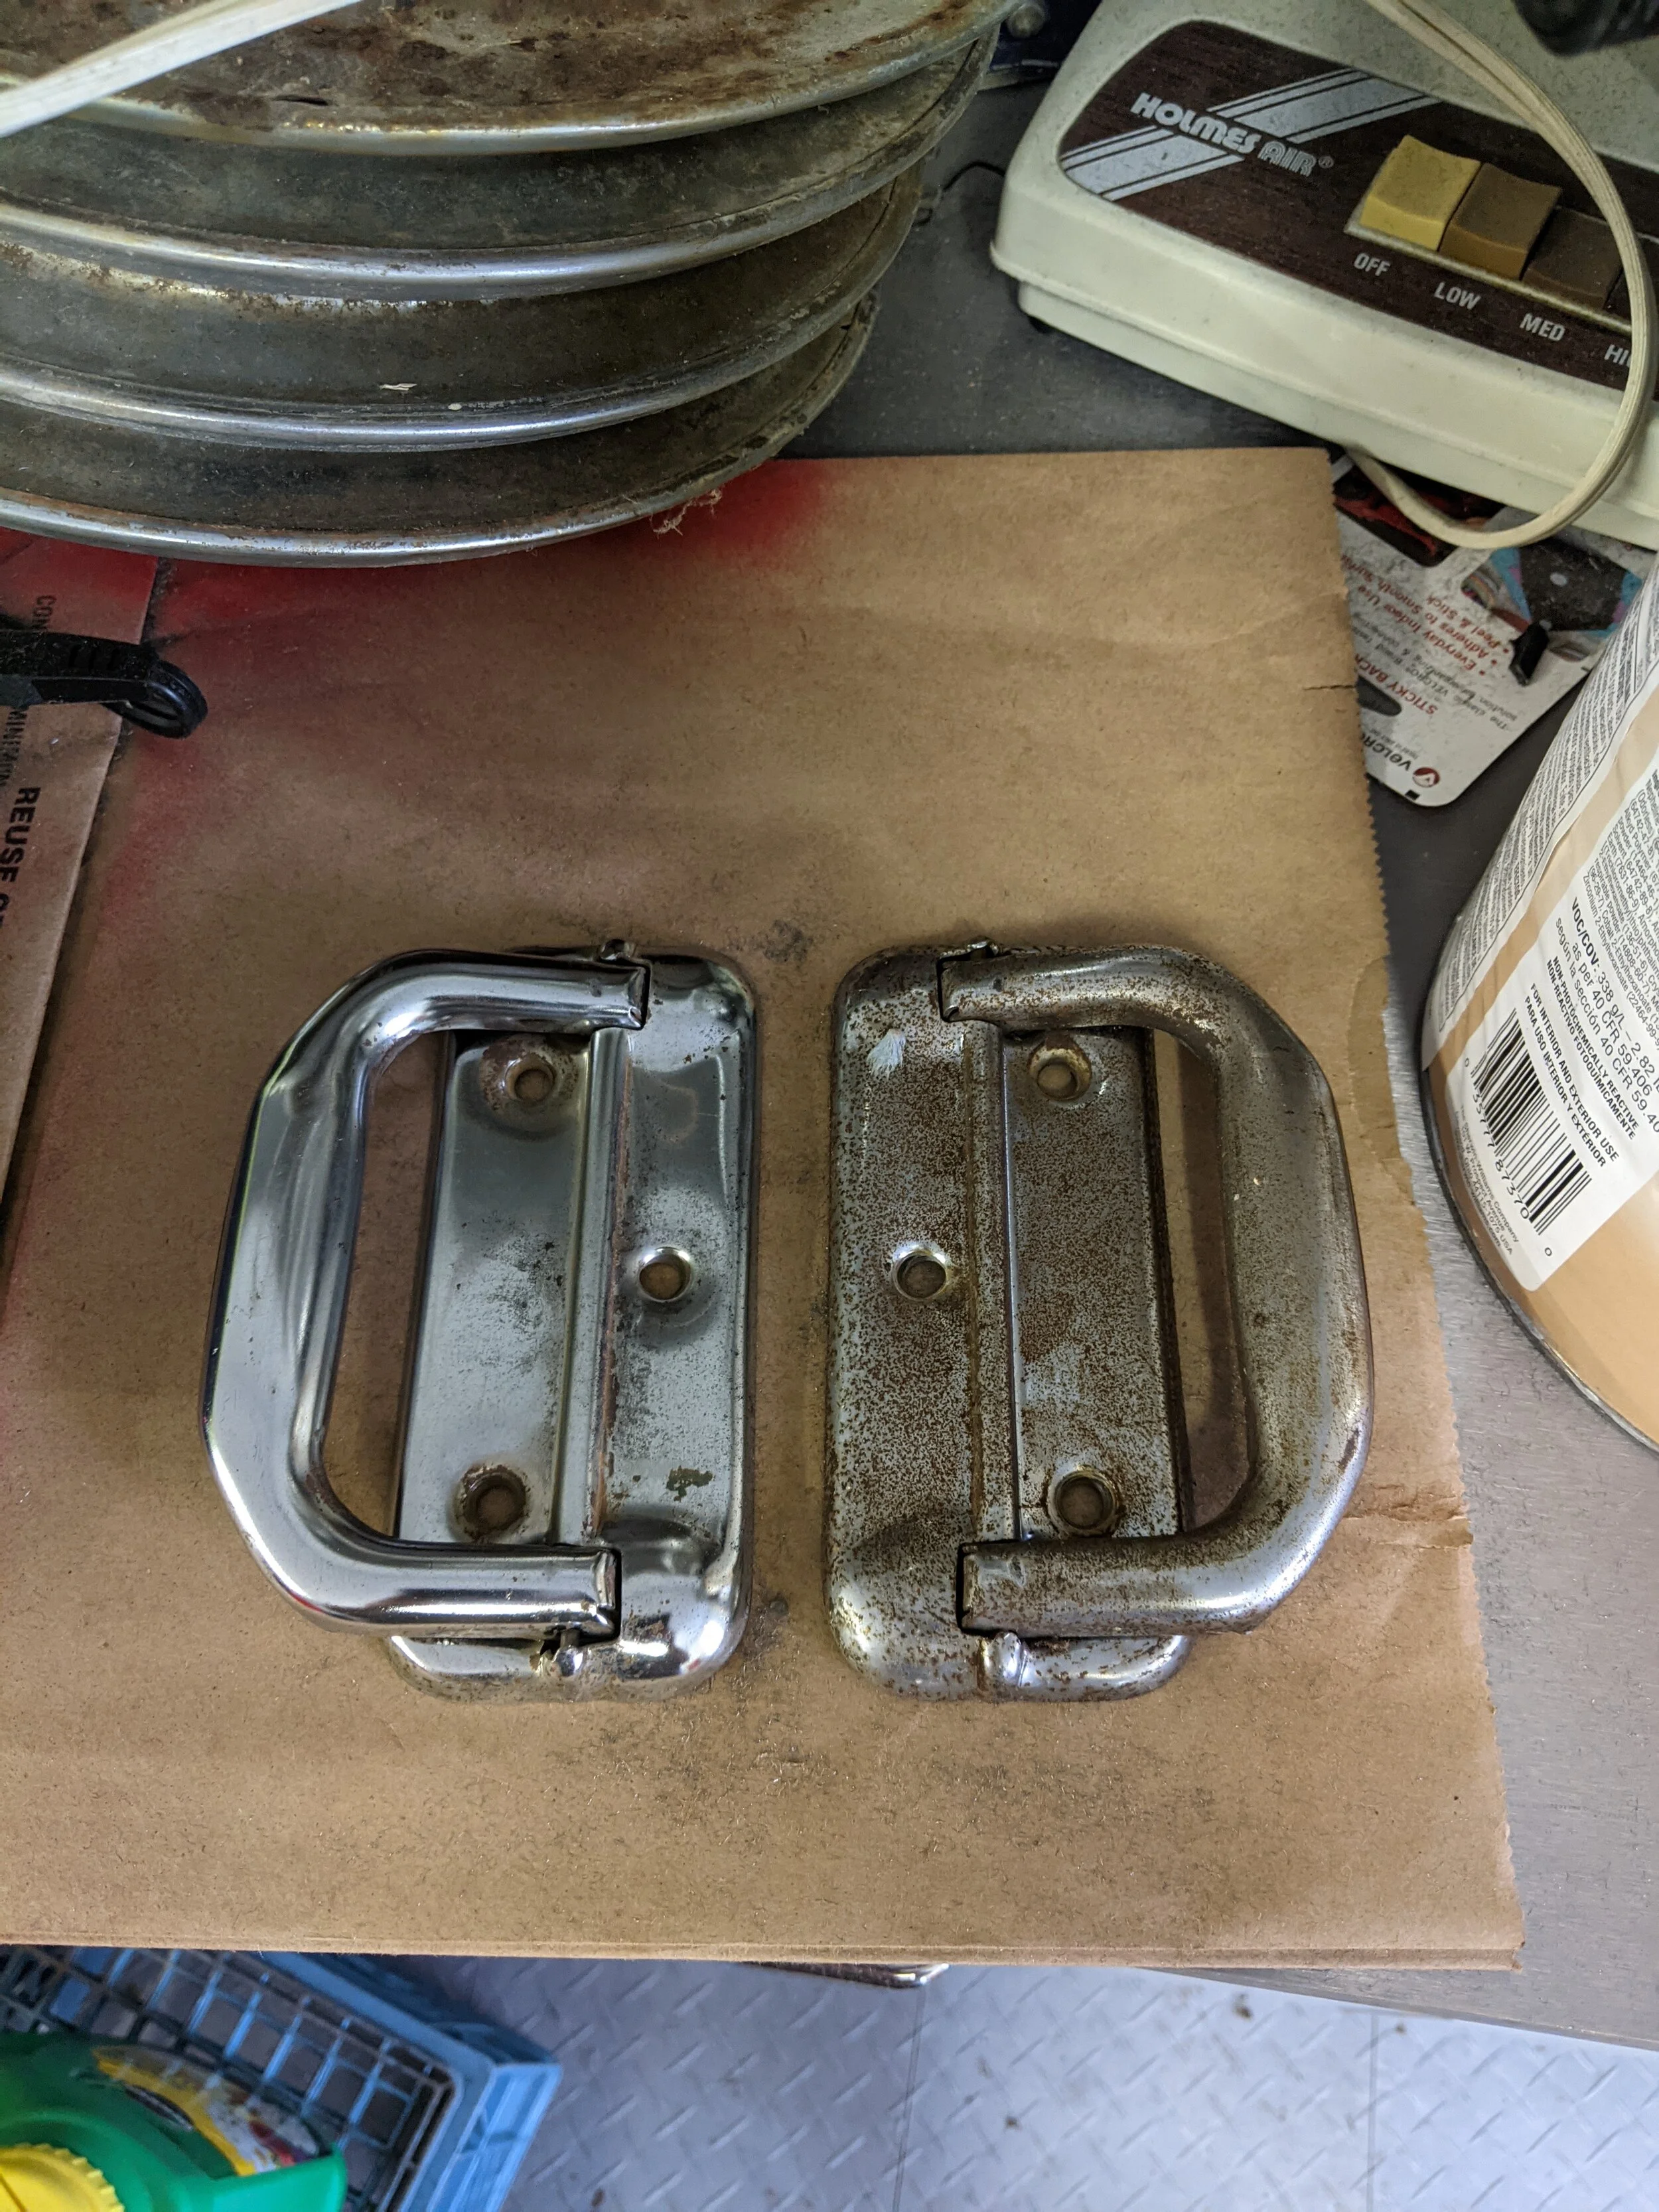
I started by disassembling the entire toolbox. All the drawers came out, the handles and locks were removed, and everything was sanded very thoroughly. I wanted a Craftsman toolbox, so I decided to paint it with the same color that Craftsman uses on their toolboxes. I picked up a few cans of Rustoleum Sunrise Red paint and repainted the entire toolbox. It was a slightly different color than the Huot Red the toolbox was previously painted, but it would now match my existing Craftsman toolboxes. I steel wool sanded the chrome handles and scraped the cork out of the drawers. Here you can see the difference in the large outside handles with only one steel wool session. I did several!
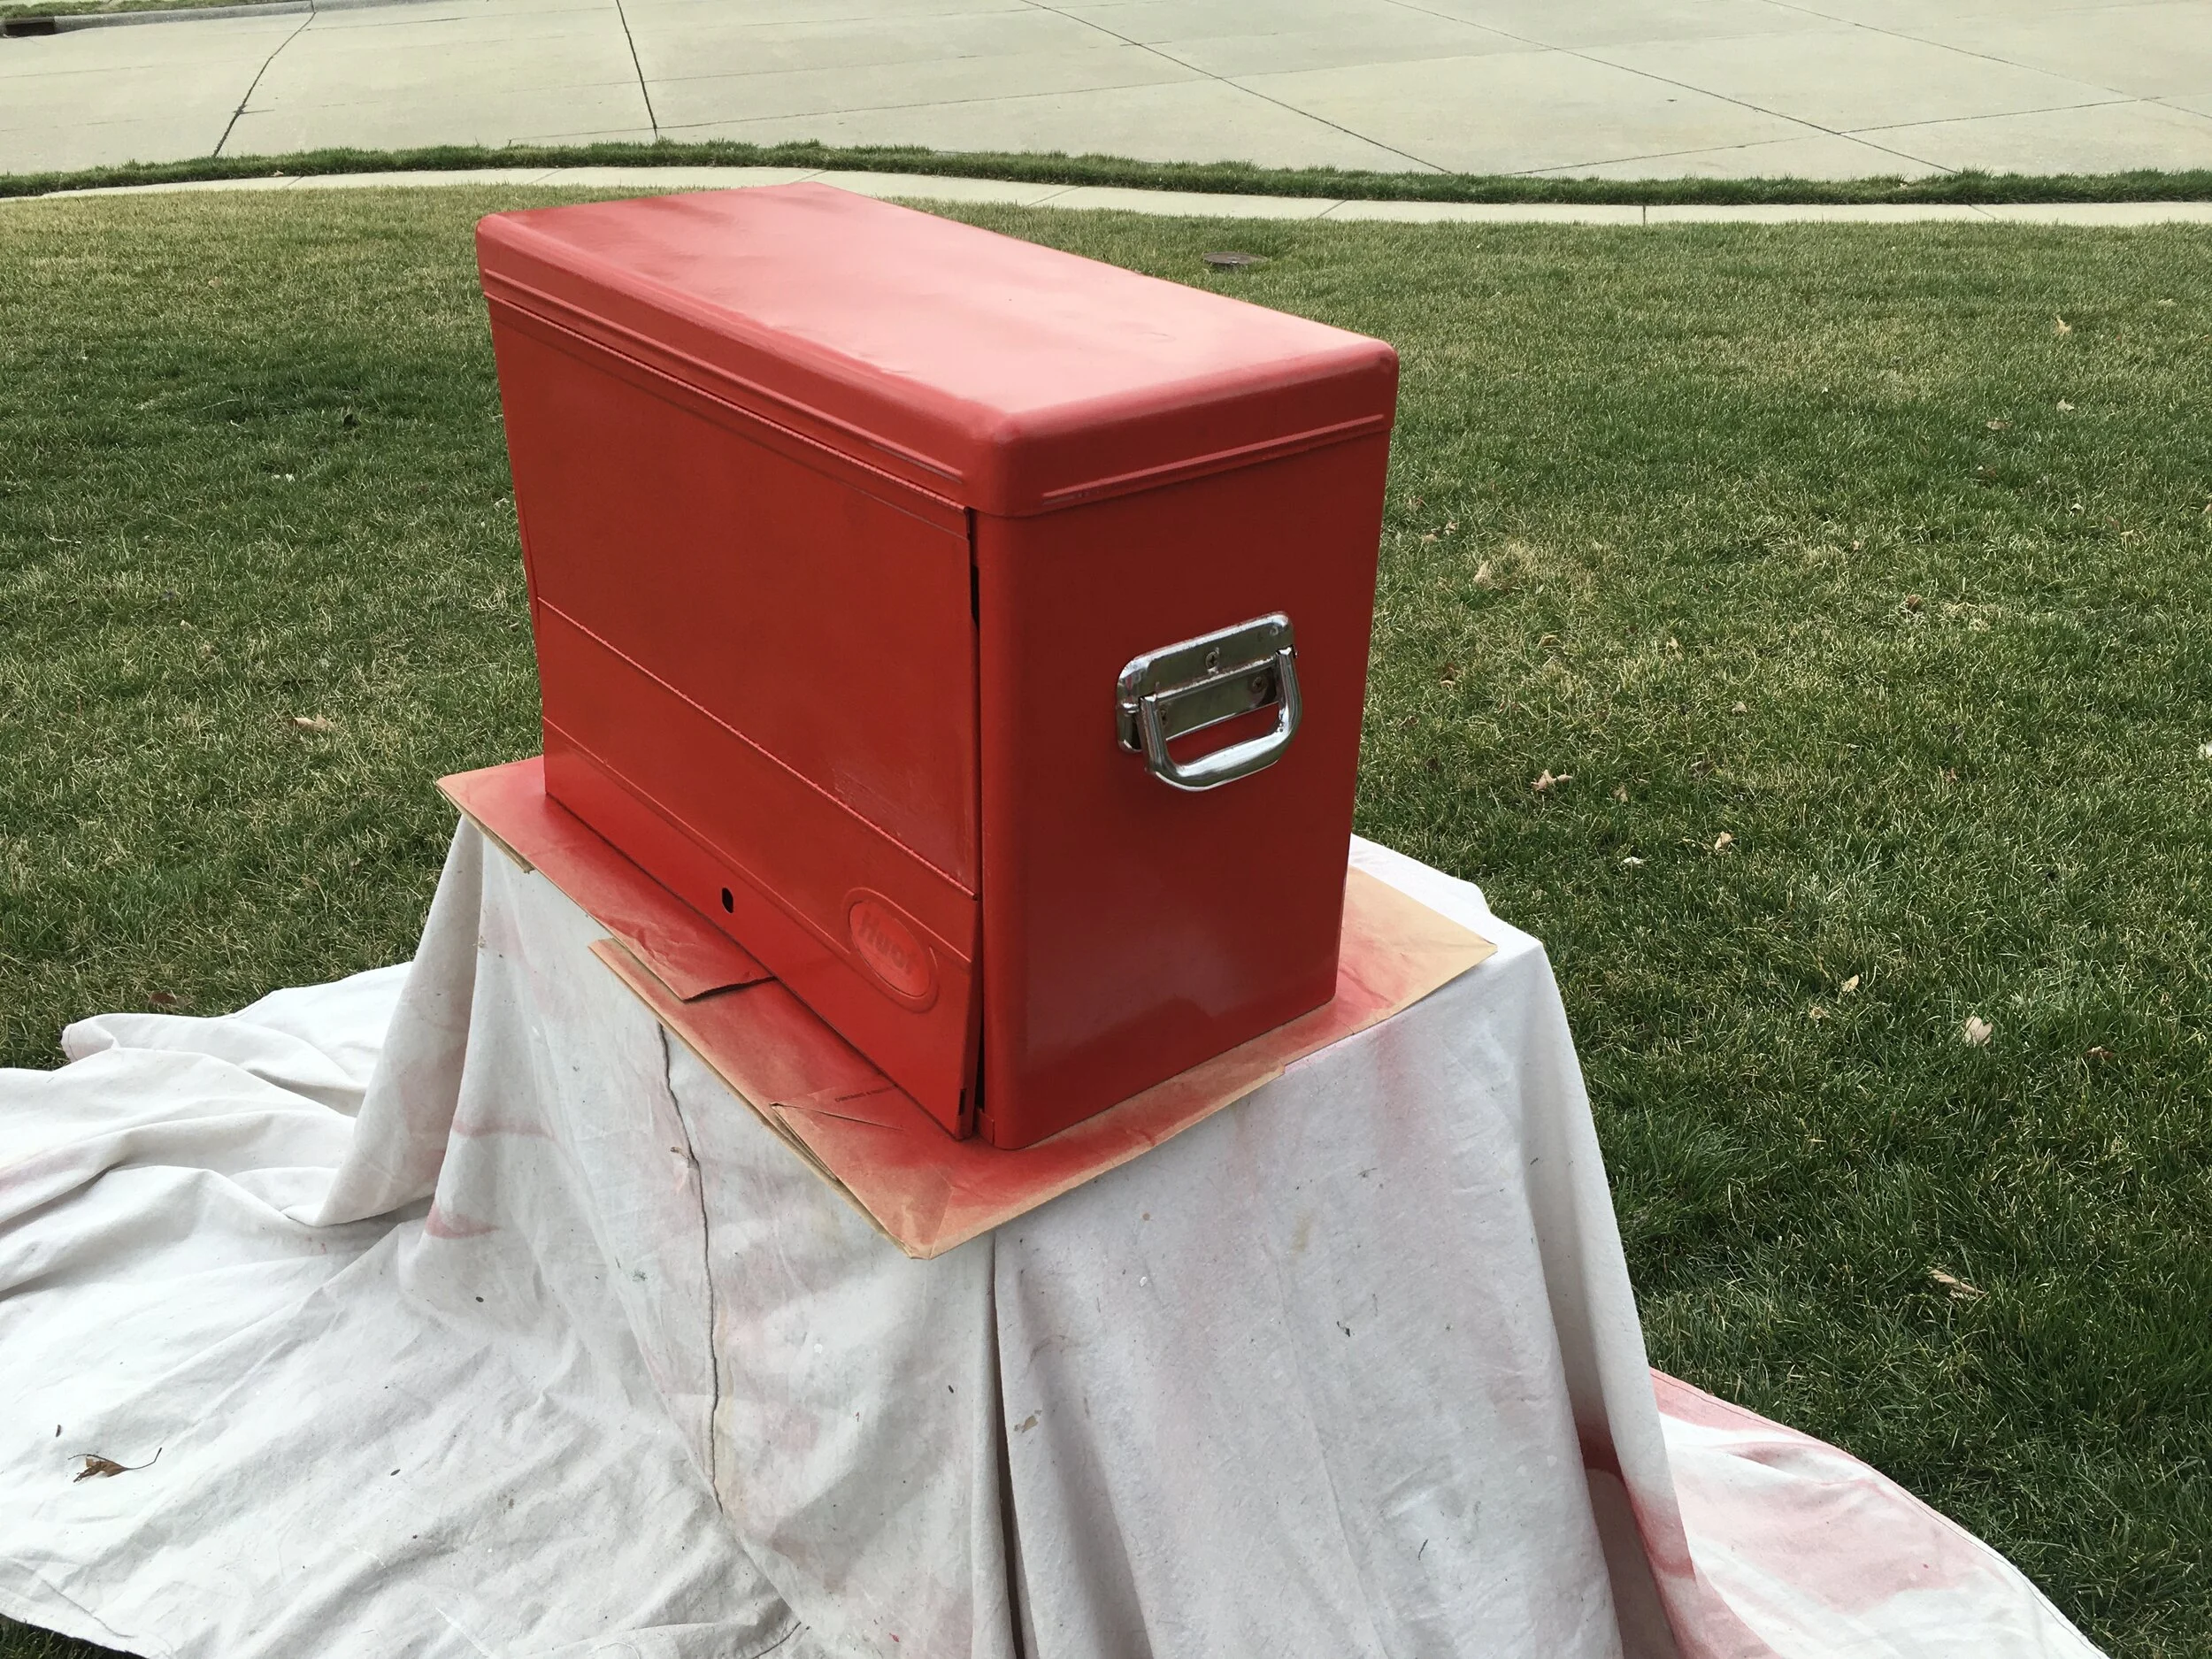
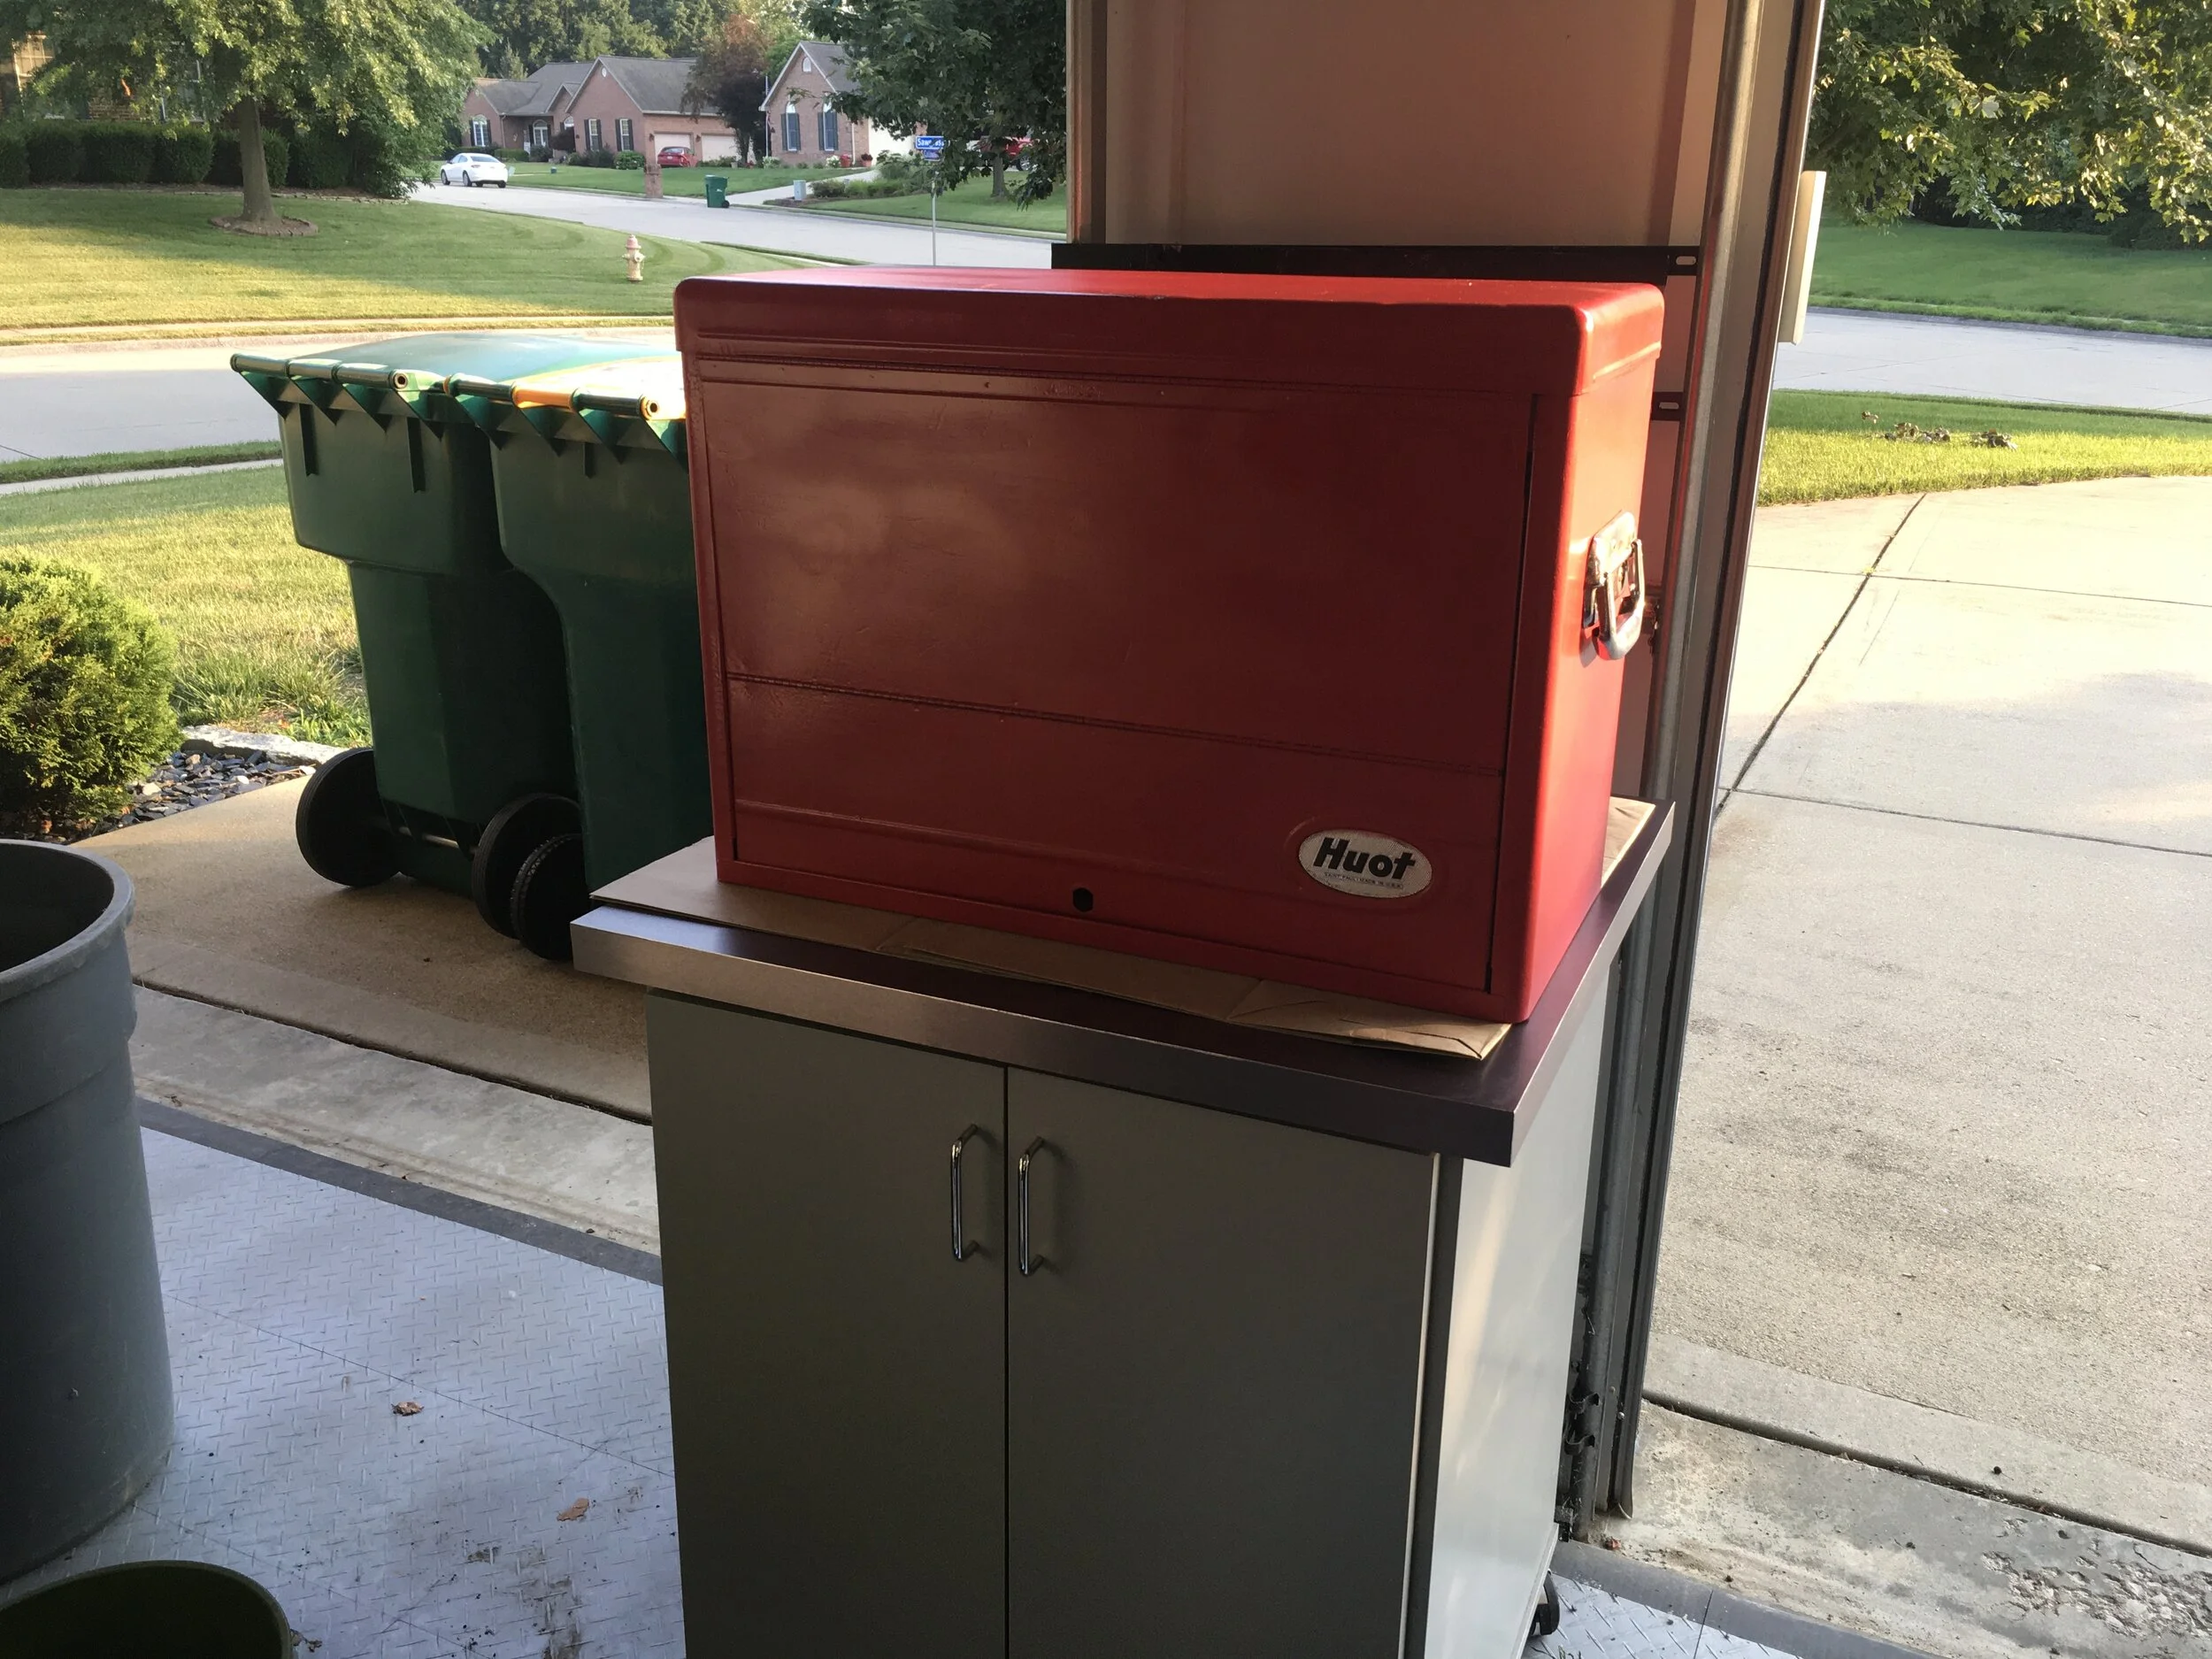
After the cleanup was complete the entire toolbox received the Rustoleum Sunrise Red paint. It made a mess. The sanding and the spray painting gave a pink haze to everything in the garage, even my hair! Here is what the toolbox looked like after one coat of paint.
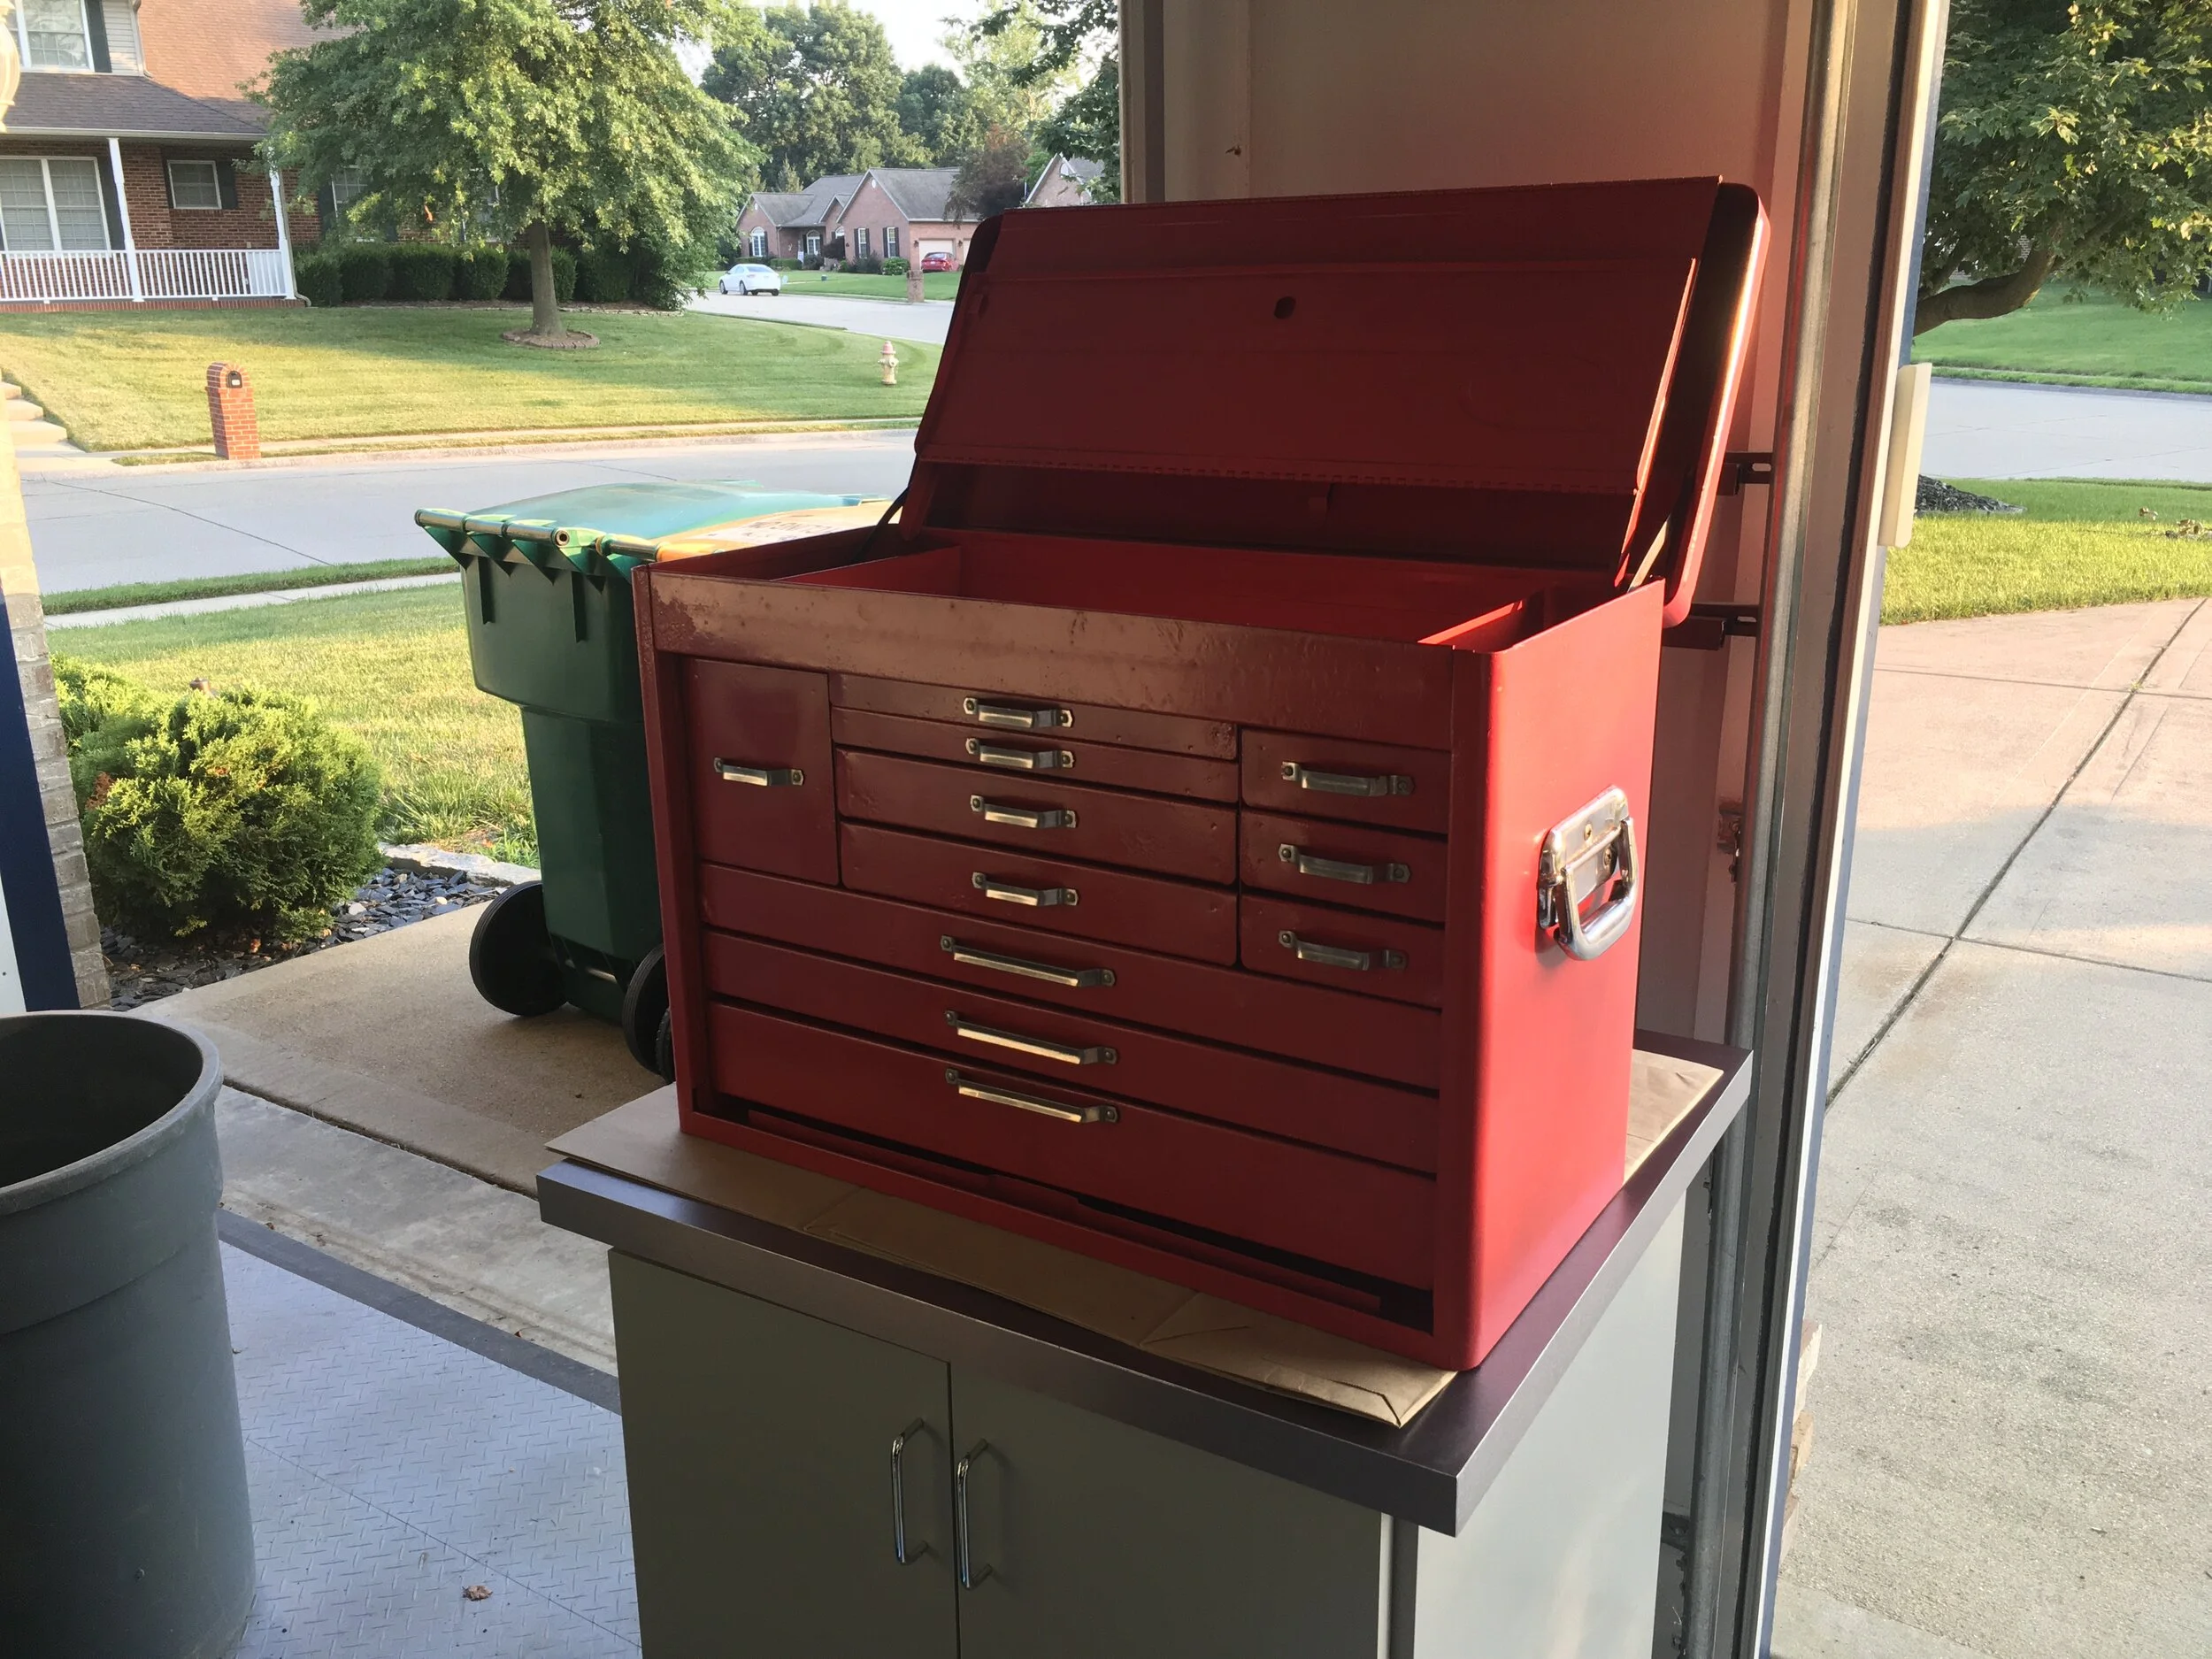
I repeated the sanding and spray painting process over and over again until I had about 6 or 7 coats of good solid paint on the toolbox and here is how the final product looked.
So, what did I learn from this project? Yes, I learned how to restore an old toolbox. It didn’t come out perfect and there are lots of things I would do differently if I choose to do another project like this. But, more than the technical things I learned, I discovered that I liked the toolbox when the project was complete. I loved the history of the toolbox and spent enough time and effort on it that I decided to keep the toolbox rather than sell it to someone else. I have a huge project going on where I am restoring a 1970 Toyota LandCruiser and I need a place to store my growing collection of metric tools. This toolbox will provide me with the perfect place to do that. And I discovered that regardless of what first impressions are that we can increase the value of something by laboring over it and pouring our lives into it. At first this was just an old, ugly Huot toolbox. Then, after I worked on it for a while it became my old Huot toolbox. In my eyes I added value to the toolbox by re-creating it in my image of what a toolbox should look like. It was an old beat-up toolbox that now shines because of the work I put into it. Don’t get me wrong, this isn’t a perfect toolbox by any stretch of the imagination. It still has scratches and dents in it. But, I understand the concept of redemption better after having restored this toolbox. The Lord had redeemed us through His Son Jesus pouring His life into ours and giving His life for ours. In some minor way, bringing this toolbox back to life helped me understand that a little bit better.


